Keeping your WordPress plugins up to date is crucial for security, performance, and compatibility. However, managing updates for custom or premium plugins can sometimes be challenging. Fortunately, the plugin update server simplifies this process by providing a centralized way to deliver updates directly to your WordPress site. In this guide, we will walk you through how to use the plugin update server step-by-step.
What Is a Plugin Update Server?
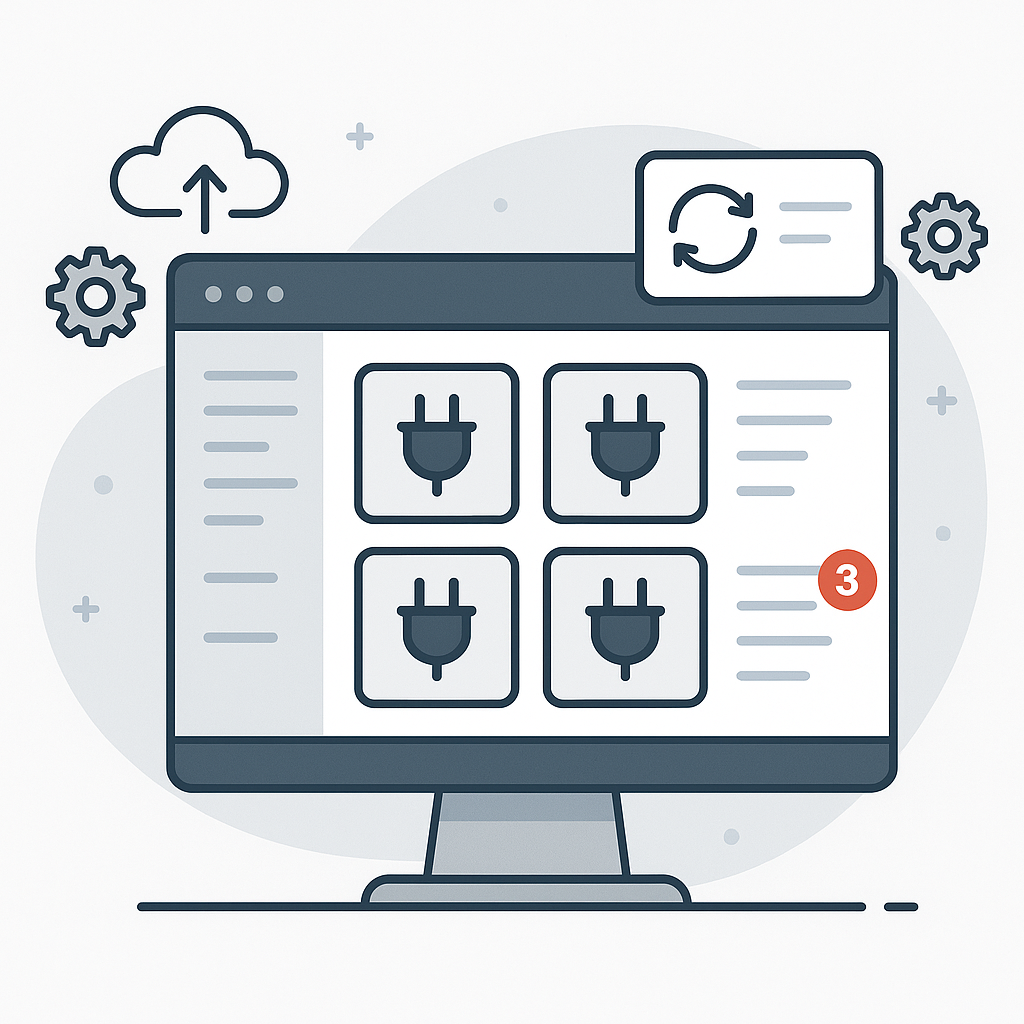
First, let’s clarify what a plugin update server is. Essentially, it is a system that hosts plugin updates and communicates with your WordPress site to notify it when new versions are available. This way, you can update your plugins directly from the WordPress dashboard without manually downloading and uploading files.
Moreover, using an update server is especially helpful for developers and businesses distributing custom plugins, ensuring users receive timely updates and security patches.
Why Use the Plugin Update Server?
Before diving into the setup, it is important to understand the benefits:
- Automated Updates: Receive notifications and update plugins with just a few clicks.
- Improved Security: Ensure your plugins are always running the latest, most secure versions.
- Better Compatibility: Stay compatible with the latest WordPress core updates.
Because of these advantages, plugin update servers are an essential tool for managing WordPress plugins effectively.
Step 1: Prepare Your Plugin for Updates
First, you need to make sure your plugin is ready to work with an update server. This involves adding specific code to your plugin’s main file to connect it with the update server.
For example, you typically include metadata that identifies your plugin version and update URL. This allows the update server to check if a newer version exists and provide it when requested.
Additionally, you should maintain a changelog to inform users about what each update includes.
Step 2: Set Up the Plugin Update Server
Next, you need access to a plugin update server. Some services provide this as part of their offerings, or you can set up your own if you have developer resources.
For instance, Xobyte offers innovative digital solutions that can assist with plugin update management. You can learn more about their offerings on their website.
Once you have your update server, configure it to host your plugin’s update files and metadata. This usually includes:
- Plugin zip files for each version
- JSON or XML files describing the updates
- Endpoints for WordPress to query update status
Step 3: Connect Your Plugin to the Update Server
Then, integrate your plugin with the update server by adding the appropriate API endpoints and authentication if needed. This enables WordPress to check the server for updates automatically.
For example, you might add a function to your plugin that hooks into WordPress update API filters to request update information from your server.
At the same time, ensure that your update server is secure and only authorized users can access updates, especially for premium plugins.
Step 4: Test the Update Process
Before releasing the update to all users, test the update process thoroughly. Install the plugin on a test WordPress site and verify that update notifications appear correctly.
Also, check that the update installs smoothly without errors and that the plugin functions properly after updating.
If issues arise, revisit your server configuration and plugin code to troubleshoot.
Step 5: Deploy and Maintain
Finally, once testing is successful, deploy the update server and plugin updates to your users. Encourage them to keep their plugins updated to benefit from new features and security fixes.
Moreover, ongoing maintenance of your update server is important. Regularly upload new plugin versions and monitor server performance to ensure a seamless update experience.
Additional Tips for Using the Plugin Update Server
To make this easier, here are some useful tips:
- Use Secure Connections: Always use HTTPS to protect update data.
- Provide Clear Versioning: Use semantic versioning to avoid confusion.
- Document Updates: Keep a changelog accessible to users.
- Leverage Existing Solutions: Consider third-party update server services if you want to save setup time.
Conclusion
In conclusion, using a plugin update server streamlines the process of keeping your WordPress plugins current and secure. By following this step-by-step guide, you can set up and manage your plugin updates efficiently.
For example, leveraging services like those offered by Xobyte can help you implement innovative digital solutions to maintain your plugins effortlessly.
Therefore, start using the plugin update server today to enhance your plugin management and provide the best experience for your users.
Leave a Reply